Disguising dark circles isn't as straightforward as it seems. People often make the mistake of applying too much concealer, which, far from solving the problem, can actually accentuate fine lines. Another common error is choosing a concealer that's too light. Instead of evening out the tone, you create a too-bright eye mask-like effect. Yikes. It's so complicated to get it right, which is probably why this six-step method for effectively and naturally covering dark circles with make-up has gone viral!
Below, we'll explain step-by-step how to achieve this flawless result using just a few products. Add this simple method to your makeup routine ASAP if you want to banish your dark circles forever.
How to 'erase' dark circles in 6 steps
1/6
 © Getty Images
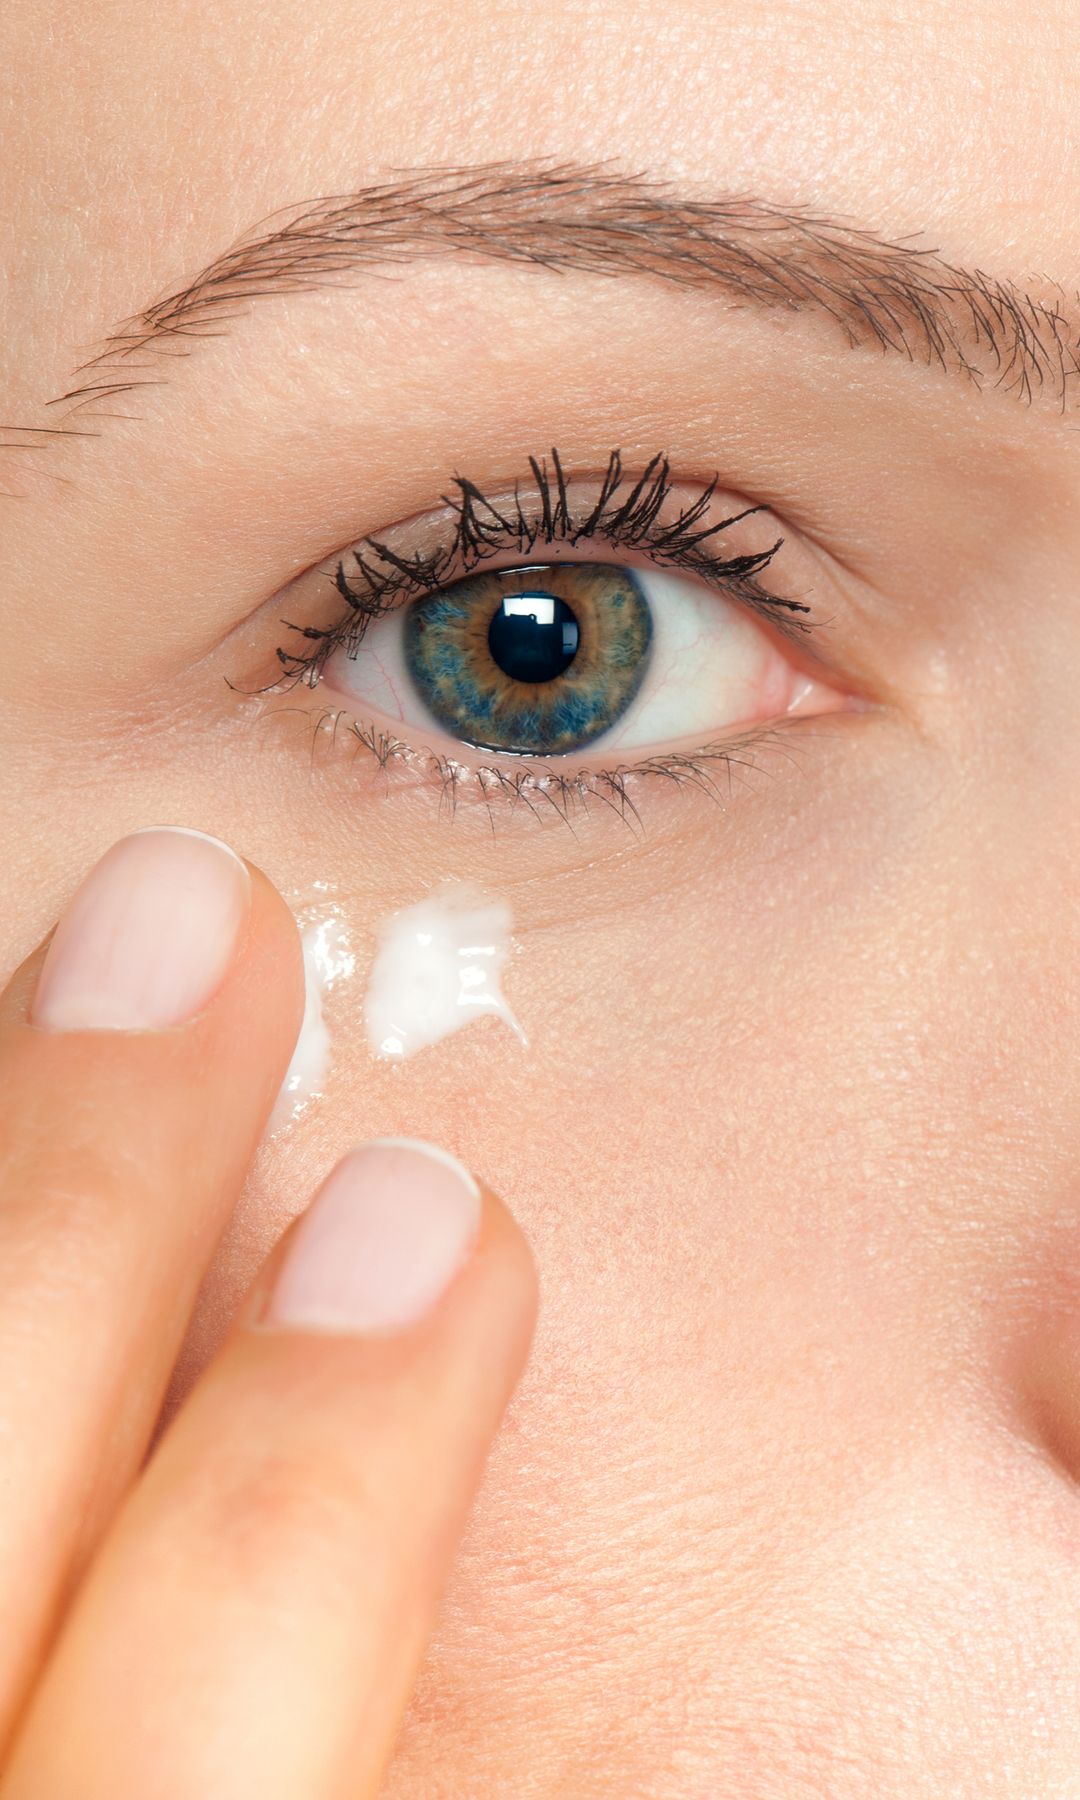
Proper hydration is key so your concealer doesn't set into creases
Step 1: Moisturise
Before you start applying any concealer, it's crucial to hydrate the delicate eye contour area with an eye cream or an under eye mask.
Many people tend to skip this step, but it's essential for a flawless finish. Hydrating as the first step creates a smooth, even base on which the concealer will glide effortlessly, preventing it from settling into fine lines. Wait for the product to be fully absorbed before continuing with your make-up, ensuring longer wear and a more natural look.
2/6
 © Getty Images
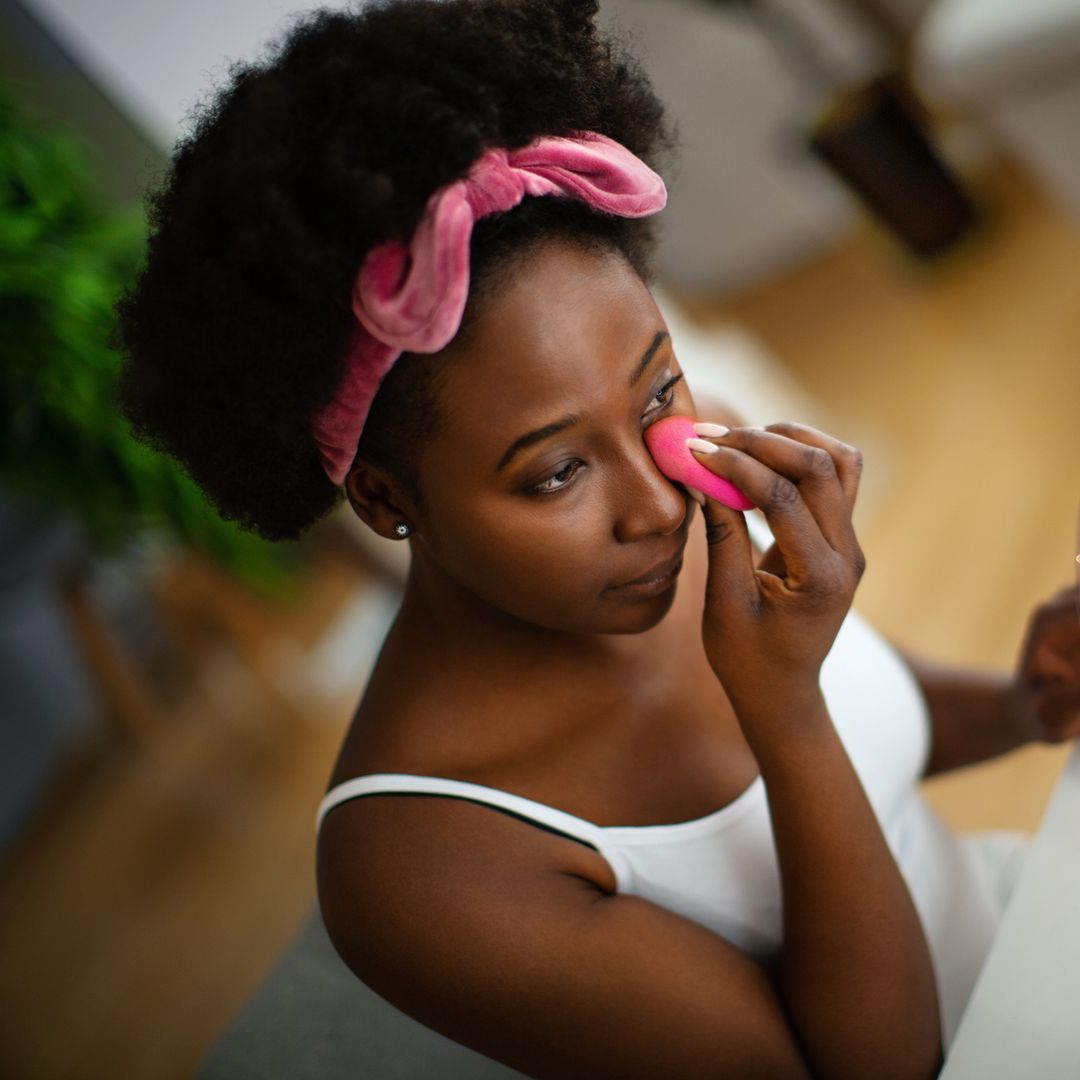
Use a damp sponge or your fingers to gently blend the product
Step 2: Neutralise
We've reached a crucial next step: pre-correction. Did you know that, depending on the tone of your dark circles, you'll need a different colour of colour corrector to neutralise it? If your dark circles are bluish and you have a fair skin tone, a peach-toned concealer will be your best ally. For deeper skin tones, an orange shade will be more effective.
The key is to dab the colour correcting concealer onto the area with the dark circles - don't draw a complete circle around the eye. Remember, less is more!
3/6
 © Getty Images
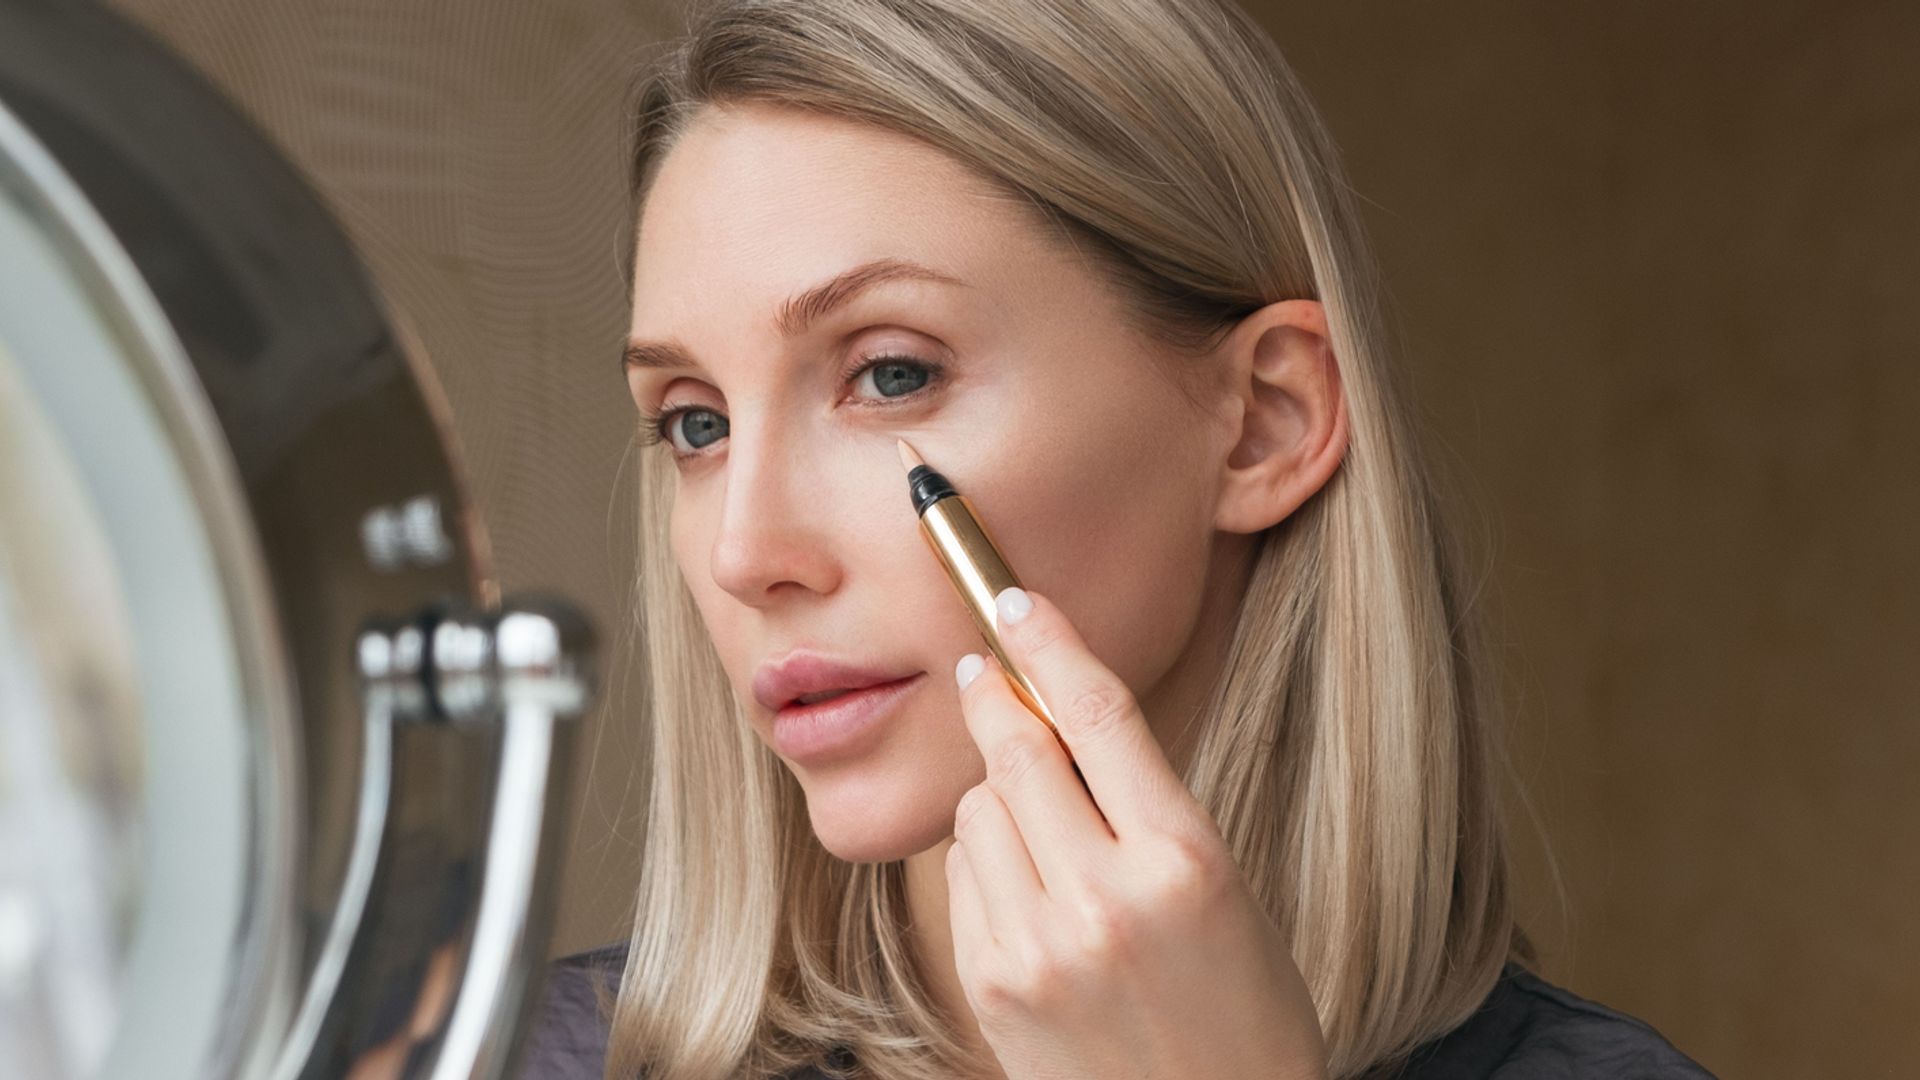
A concealer similar to your skin tone with brighten your eyes
Step 3: Apply concealer
Once the dark circles are neutralised, it's time to brighten the area. Apply a concealer similar to your skin tone in the inner corner of your eye. To open up your eyes and create a rejuvenating effect, lightly extend the concealer towards your temples, following the lower lash line and curving it upwards towards your eyebrows. This little trick will help visually lift the eyelid and disguise any signs of tiredness.
4/6
 © Getty Images
Use a pressed powder in the same shade as your concealer
Step 4: Apply pressed powder
It might seem excessive to apply a pressed powder to such a delicate area as the eye contour, but with the right technique, the result is incredibly natural. By setting the concealer this way, you'll prevent it from settling into fine lines and achieve a more lasting and even finish.
5/6
 © Getty Images
Transluscent powder will fix and seal
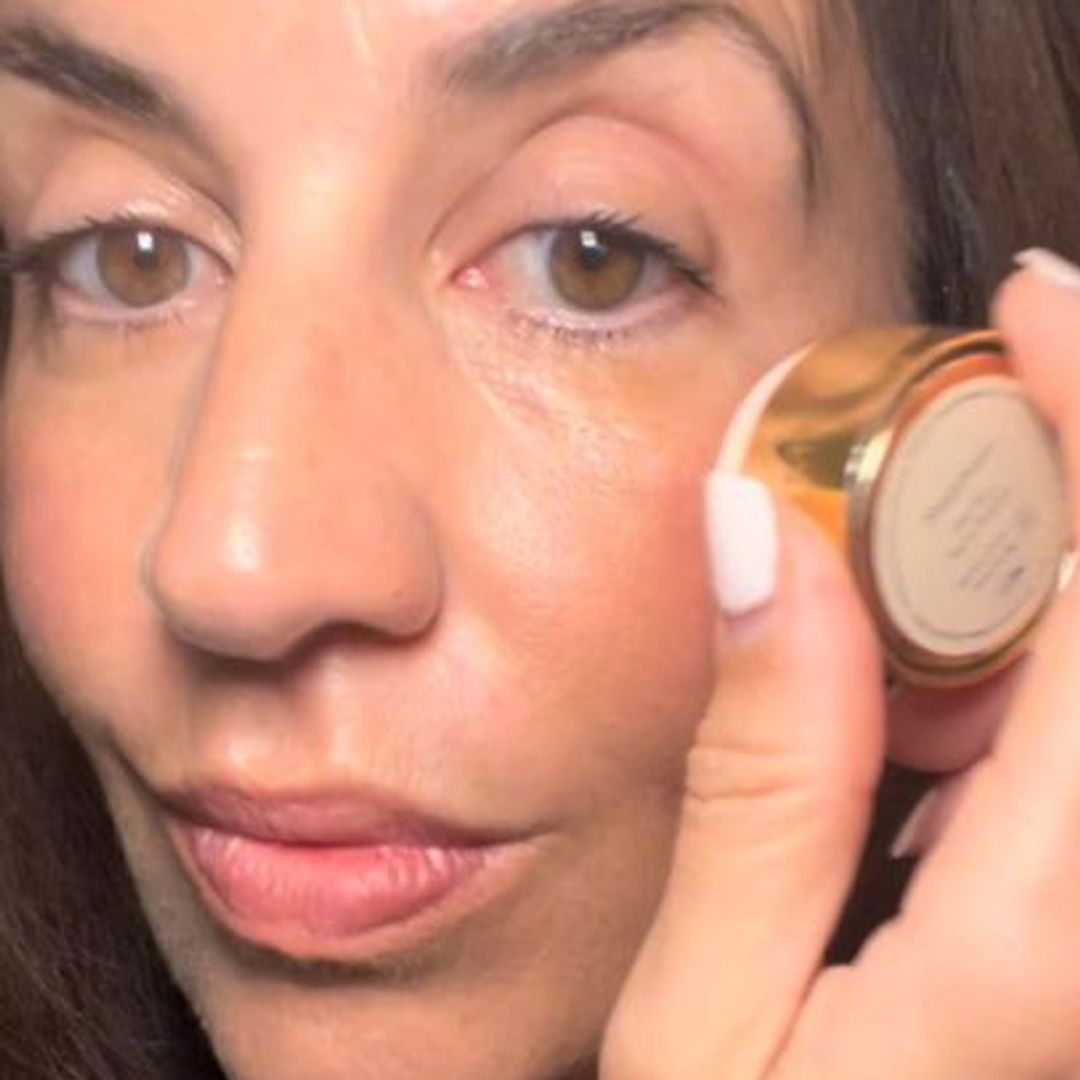
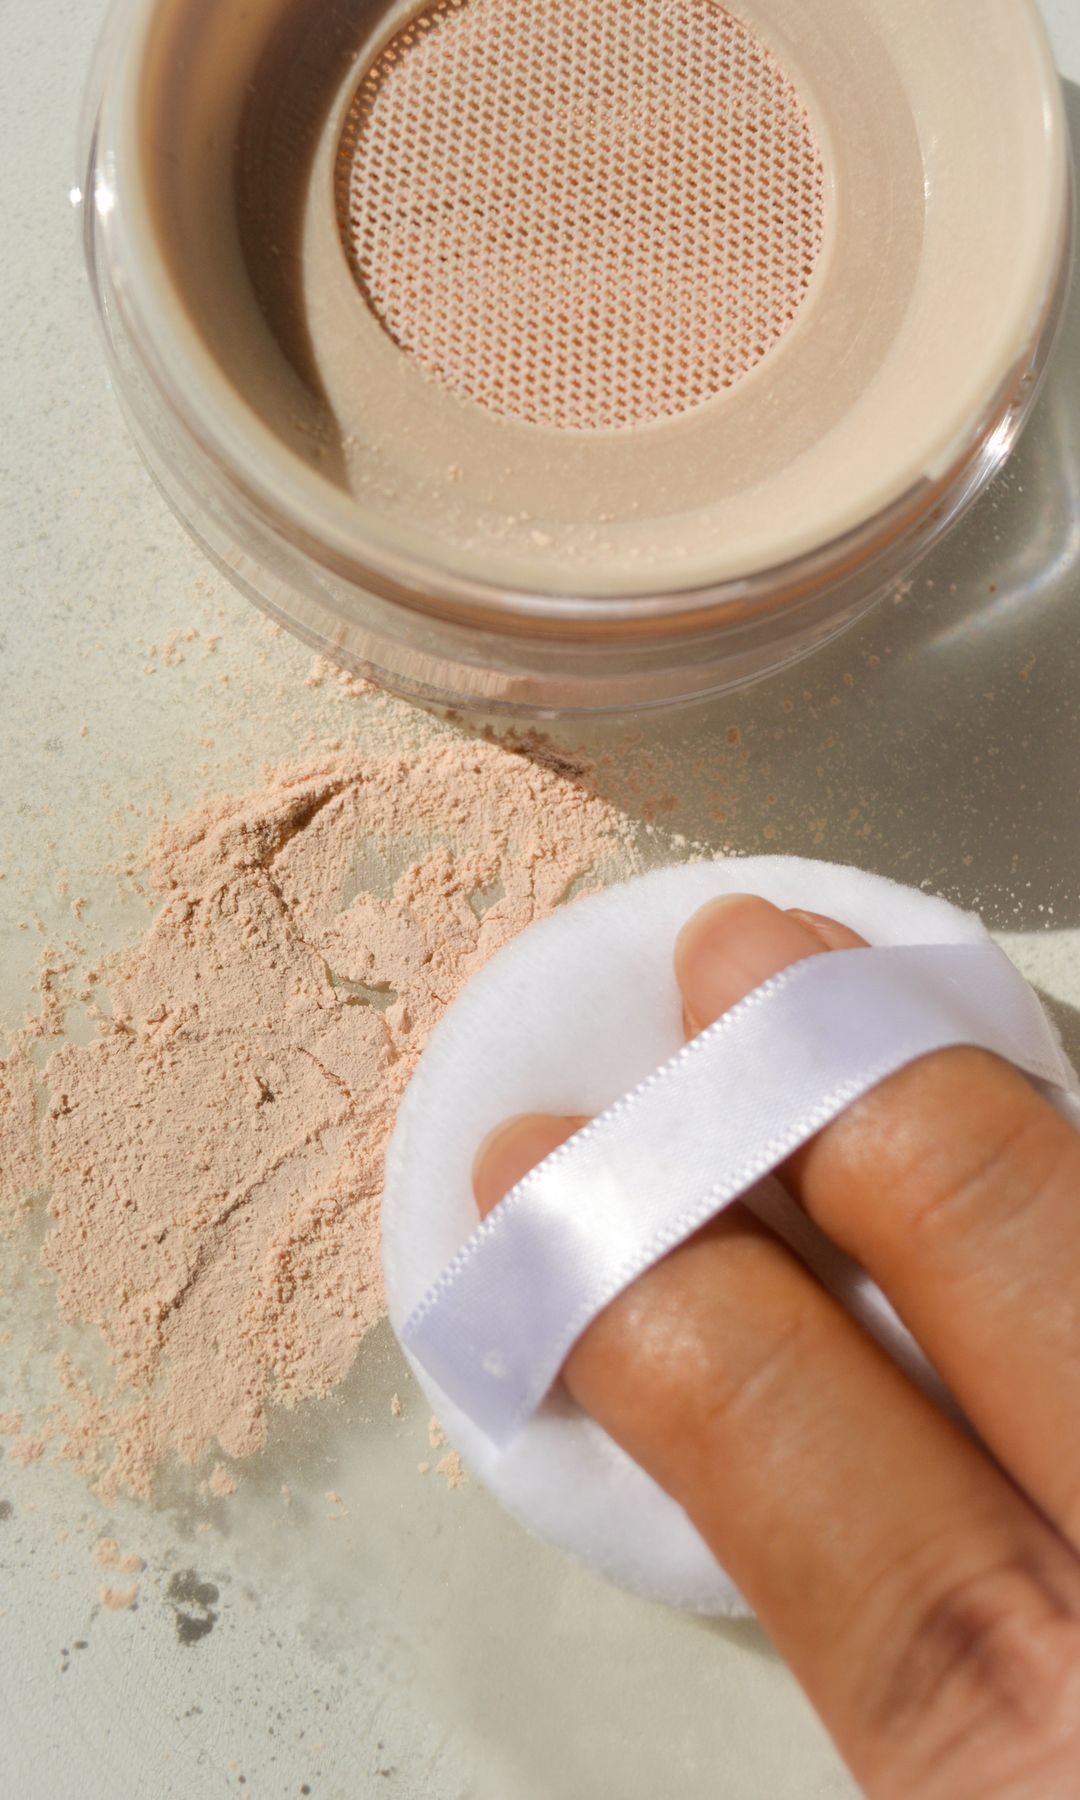
Step 5: Set with translucent powder
To completely set your make-up and ensure it lasts all day, use a small, fluffy brush to apply a light layer of translucent powder. This step will help prevent the concealer from smudging or settling into fine lines.
6/6
 © Getty Images
A hydrating setting spray is the final touch
Step 6: Hydrate and set
If you have dry skin, excess powder can accentuate fine lines and make the area look cakey. To avoid this effect, finish your make-up with a setting and hydrating mist. Close your eyes, lightly spray the eye area and gently dab with a clean makeup sponge. You'll see how your skin stays hydrated, and looks softer and more luminous.